How to Hang Wallpaper Like a Pro: Step-by-Step DIY Wallpaper Installation Guide
- Jul 23, 2025
- 8 min read
Updated: Jul 24, 2025
We will start this guide with the disclaimer that we always recommend a professional wallpaper installer for premium wallpapers to avoid costly mistakes. The craft of installing wall coverings is a real profession and skill honed over many years. Whether you’re experimenting with moody wallpapers, non woven wallpaper, or timeless grasscloth wallpapers, the right wall covering (properly installed!) can transform a room into an interior design statement worthy of being featured in Arch Digest.
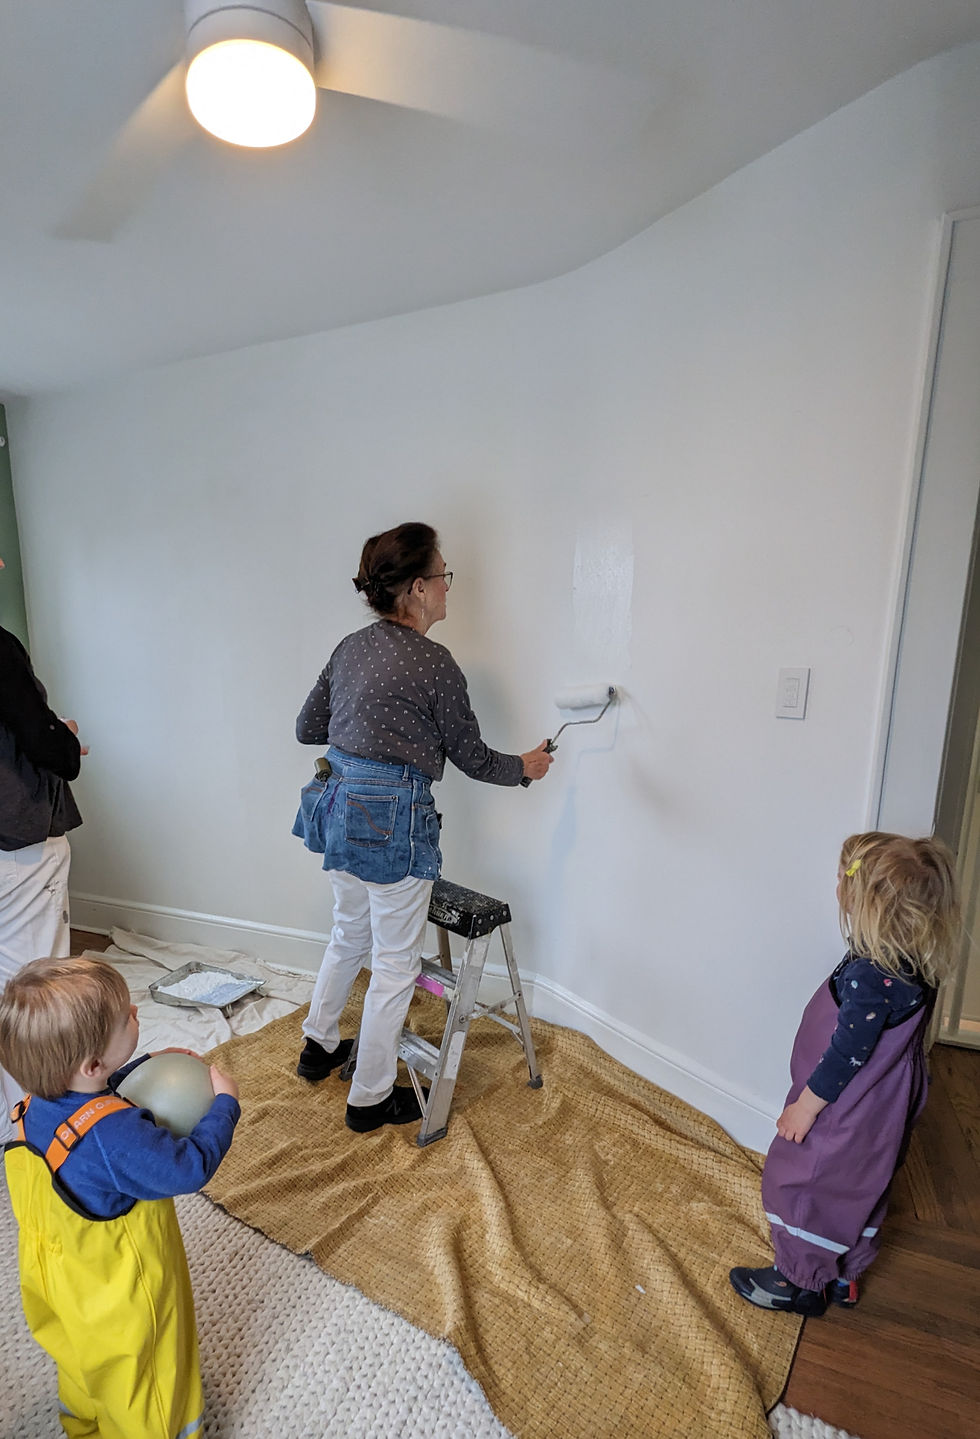
Having said that, if you want to get your hands dirty and go the DIY route we recommend inviting a handy friend or two over to help. Make sure your first attempt is in a low stakes room using paper you did not have to sell a family heirloom to purchase.
This guide provides a comprehensive walk-through of the DIY process, from preparation to execution. We will discuss selecting the best tools, accurately measuring your space, and appropriate installation methods for different paper types. Read on for our top tips to help you hang wallpaper like a seasoned expert.
Jump to:
Measuring for Wallpaper
Measuring for wallpaper is a crucial step to ensure a seamless and professional-looking
installation. To begin, gather your tools: a tape measure, calculator, and paper for notes. It is always recommended to use a professional for measuring premium wallpaper, but if you're opting for a DIY approach, here’s how to get started.
Steps for Measuring Wallpaper:
Use a tape measure to gauge the height and width of each wall. A metal tape measure provides the most reliable measurements for wallpaper projects rather than a soft cloth tape measure.
Take measurements twice to confirm accuracy. Record each dimension in inches and round up by 3-4 inches for accuracy.
The tape measure must lay flat against the wall surface. Pull it taut to avoid sagging, which can lead to inaccurate measurement.
Measure the width of each wall at its widest point and the height from the lowest floor point to the highest ceiling point, then combine the measurements of each wall to determine the total coverage needed.
This approach ensures enough material while accounting for pattern repeats and potential installation challenges.
Divide the total square footage by wallpaper width to determine the number of rolls/yards needed. Always add 10-15% extra to account for potential mistakes and pattern matching.
Different wallpaper designs will require different yardage depending on the size of the pattern repeat and the match type.
Being precise with your measurements will save time, money, and frustration, ensuring your installation can move ahead with out delays and added costs.
Remember, different types of wallpaper, like woven wallpaper, PVC-free designs, or large-scale murals, may have unique pattern repeat requirements. Use the Cape Lily Wallpaper Calculator to help you estimate how many yards you need. Note: The yardage calculator should be used for Wallpaper by the yard and not for mural /panel designs or rolls.
What room features should I consider when measuring a room for wallpaper?
When measuring for wallpaper do not deduct for doors and windows. Be sure to include measurements for inside corners, around doorways, above windows or other features that won't need covering as these will still require material to account for pattern-matching. Note that light switches, outlets, air vents or radiators require careful cutting during installation but don't affect the quantity calculation.
If in doubt always include the area in your measurements or consult a professional.
If there is a baseboard, chair rail or wainscoting you will measure from the lowest point to the ceiling. Similarly if there is any ceiling molding you will measure to where you want the wallpaper to meet the ceiling molding.
Sloped or slanted walls need special consideration. Measure both the shortest and tallest points, then use the longer measurement to ensure full coverage. For example, when measuring a sloping staircase you will still need to measure to the highest point of the ceiling.
Curved walls demand additional material. Measure the actual curved surface distance rather than the straight-line distance between endpoints.
Measure each wall section separately for accuracy.
Once you have confidently measured, place your order with your Wallpaper vendor.
Before You Get Started Hanging your Wallpaper
Inspect your wall covering for any issues prior to cutting and installation as most vendors will not honor any returns once the product has been cut or hung.
Essential Tools for Hanging Wallpaper
To hang wallpaper like a pro, having the right tools can make all the difference. Here's what you'll need:
Tape Measure: Precision is key, so use a digital or a metal tape measure.
Plumb Line or Spirit Level: Use these to ensure your wallpaper is hung straight, preventing any slanted surprises.
Utility Knife with a Very Sharp Blade: Cutting wallpaper requires precision, and a sharp blade will give you clean edges.
Smoothing Tool or Plastic Smoother: Use these to eliminate bubbles and creases, achieving a flawless finish.
Putty Knife: Handy for smoothing down edges.
Pasting Brush or Roller: Essential for applying a consistent layer of adhesive.
Damp Sponge: Useful for cleaning excess paste.
Pro tip: For super straight lines, use a self-leveling laser along with your plumb line or spirit level. Keep a spare X-acto knife, breakaway knife, or razor knife on hand for perfect cuts.
Prepping Your Walls for Wallpaper:
Remove all old wallpaper and repair damaged areas. All walls should be smooth, clean, and free of mildew and grease stains.
If necessary, apply a stain killing primer.
Newly plastered walls should be washed with a zinc sulfate solution.
New, unpainted surfaces should be sealed with an oil based primer. Follow up with a high quality wallcovering primer sold in your local paint & wallpaper stores.
Note: We do not recommend using Glue Size as modern wallpaper primers and sealers offer superior performance.
PRO TIP: On all surfaces that are to be papered, we recommend using a universal, pigmented wallcovering primer/sealer such as Shields. The pigment should be the same color as the background color of your Wallpaper
Cutting and Trimming your Wallpaper
Cutting Wallpaper
Trim the wallpaper to the required length for your wall, leaving a few extra inches at both the top and bottom. This extra length is crucial for precise trimming against baseboards and ceilings. Also, consider join lines and the alignment of the pattern for the next panel or section of wallpaper
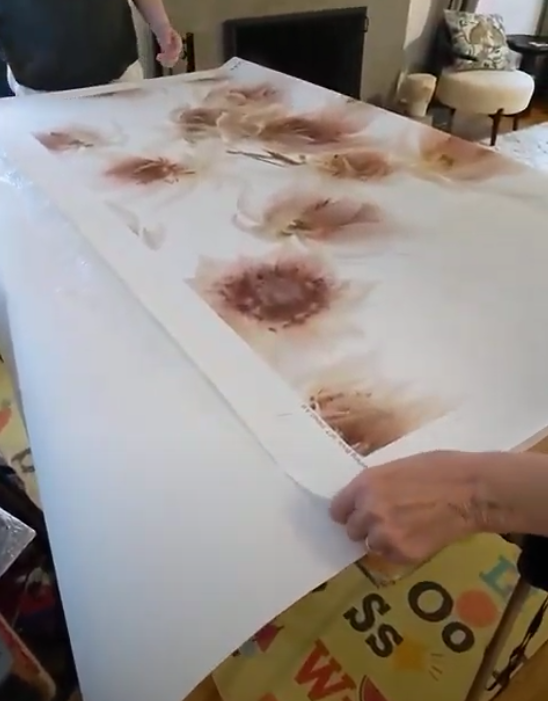
Trimming Wallpaper:
Many wallpapers, including Cape Lily Wallpapers, are sold untrimmed. When trimming wallpaper, be sure to adhere to the manufacturer's instructions included with your purchase. Many manufacturers include join marks on the selvage (the paper's edge) to aid with pattern alignment, such as a half drop or straight match, based on the design.
Utilize these trim marks as a guide to trim the paper.
Some advanced paper hangers may trim the paper on the wall in a technique called "double cutting" - hanging two adjacent strips of wallpaper with overlapping selvage edges, and then carefully cutting through both layers simultaneously. When done well this results in a very clean seam.
However, we prefer to trim the selvage from the edges of paper on a table or flat surface before hanging. This method is known as "table trimming". This method is recommended for less experienced installers and DIYers and is much less risky, allowing for careful pre-matching of the pattern.
Pasting or Preparing your Wallpaper
Paste the Paper versus Paste the Wall Methods
Traditional wallpapers typically require either the Paste the Paper or Paste the Wall techniques, contrasting with pre-pasted or Peel and Stick options.
Paste the Paper Technique (our preferred method):
Well suited for traditional paper wallpapers.
Evenly spread wall covering adhesive on the back of the wallpaper, one strip at a time to avoid the paste drying out
Book the wallpaper by folding the adhesive sides together and let it soak for a few minutes (3-5 mins depending on manufacturer instructions). Booking refers to folding the pasted wallpaper onto itself, pasted side to pasted side, which helps it relax and prevents it from drying out.
Ensure the paper doesn't get too wet - especially with natural wallpapers e.g grasscloth and be careful not to get adhesive on the front of the wallpaper
After booking, carefully transport the folded wallpaper to the wall for installation.
Paste the Wall Technique:
The Paste the Wall technique is often preferred for non-woven wallpapers, though using the Paste the Paper method for non-woven wallpapers is also a viable option depending on your preference.
Non-woven wallpapers are crafted from a mix of synthetic and natural fibers, providing stability and preventing deformation when wet. As a result, they can be directly applied to the wall without the risk of swelling or expansion due to adhesive moisture.
In this technique, apply a water-based adhesive directly onto the wall using a roller to ensure even coverage.
Some natural wallpapers may require moistening with a damp sponge and booking before hanging on the wall. Be careful not to over-soak.
With this approach, focus on one section at a time to prevent the adhesive from being applied prematurely and drying out before the wallpaper is hung.
For all methods involving adhesives be sure to wipe away any excess paste immediately with a damp cloth to prevent it from drying on the wallpaper surface. Refer to the manufacturer's hanging instructions for the recommended adhesive.
Pre-Pasted Wallpaper Technique:
To activate pre-pasted wallpaper, you need to wet the adhesive on the back either by submerging the wallpaper in a water tray, or by wetting it with a sponge or roller for the duration specified
Once wet, bookend the wallpaper by folding the adhesive sides together for a few minutes for the paste to activate and evenly distribute moisture before being applied to the wall.
Peel-and-Stick Wallpaper:
For Peel and Stick, simply peel off some of the backing and align the top edge of the wallpaper with your plumb line and the top of the wall. Smooth the wallpaper as you peel the backing downwards.
Hanging your Wallpaper
Mark Your Starting Point
Decide where you will hang your first panel. Walls are rarely perfectly straight, so starting in a less conspicuous room corner or near a window can make any slight alignment discrepancies less noticeable.
Drawing the Plumb Line
A plumb line is a straight vertical line. It gets its name from a line with a weight (plumb-bob) at one end that, when suspended helps define a vertical line. These days you are more likely to draw a plumb line using a laser or a spirit level, aligning the level vertically and drawing a line along its edge, using a pencil. You will use this vertical guide to help you hang the first strip of wallpaper straight, ensuring that subsequent panels are lined up correctly.
Hanging your first strip
Position the initial wallpaper strip along the plumb line you've drawn. Carefully adhere it to the wall by pressing from the center to the edges of the panel, employing a smoothing brush to eliminate any air bubbles and creases

How to go around electric sockets or light fixtures
When hanging wallpaper, taking the time to properly navigating around electric sockets and light fixtures is essential for a polished look. Trust me, I've skipped this step and regretted it! Ensure the power is turned off before you start to avoid any electrical hazards. Install as normal until you reach an outlet then tape up the wallpaper strip out of the way of the outlet
Once you have tested the power is off, remove the switch plate using a screwdriver (ideally you would have done this before you start the installation process).
Place the wallpaper over the outlet and use a utility knife to make two diagonal cuts to mark an "X" from the center towards the corners of the outlet opening. Trim the flaps or excess wallpaper around the opening, so that the paper does not obstruct the electrical parts, but can be covered by the plate. Finally, smooth the wallpaper around the outlet and reattach the outlet cover.
Common Errors when hanging wallpaper
Not ordering enough wallpaper: always purchase extra "attic stock" to account for pattern matching and mistakes.
Cutting in the wrong place: Measure twice, cut once. Ensure you have lined up the pattern repeats and allowed a few extra inches before cutting
Using a blunt utility knife: Trimming edges requires care and precision. . Always use a sharp blade for clean cuts and keep a putty knife nearby to guide you
Getting paste on the wallpaper: Use a soft sponge to clean excess paste immediately
Summary
Hanging wallpaper can be a rewarding DIY project, but for premium wallpapers, we recommend hiring a professional to ensure precise measurements and flawless installation. Remember, practice makes perfect, so don't hesitate to hone your skills on less expensive materials before attempting a full room transformation.


Comments